Build your own Moonwatcher in about 15 minutes: buy one board with a metal case, install the firmware from your browser, plug in USB-C – done. No soldering, no 3D printer, no coding.
You end up with a round eye on your desk that shows the crypto market: colour = trend, pupil = volatility, gaze = trading volume, sparkle = distance from the high. The firmware is free and updates itself over Wi-Fi.
Can't or don't want to build it yourself? Drop me a line at moonwatcher@funktronix.de and we'll find a way.
1. Buy the board
You need exactly one part: the Waveshare ESP32-S3-Touch-LCD-1.28-B – the version with the metal case. Shops often call it “ESP32-S3 Development Board with 1.28inch Round Touch LCD, Accelerometer Gyroscope Sensor”.
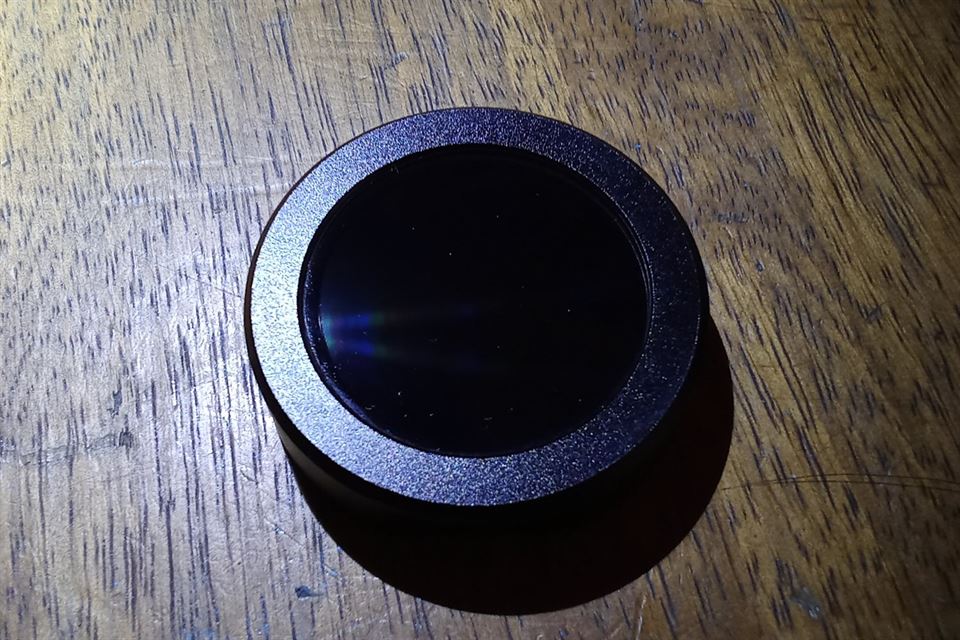
Buy it e.g. at Eckstein (Germany, exactly this version with metal case), from the official Waveshare shop or a trusted electronics store – avoid marketplace listings, they are often mislabelled.
Watch out for look-alikes – these look almost the same but won't work:
| Board | Problem |
|---|---|
| RP2040-LCD-1.28 | no Wi-Fi – doesn't work at all |
| ESP32-S3-LCD-1.28 (without “Touch”) | no tapping, no menu |
| cheap ESP32-C3 round boards | too little memory, no motion sensor |
The metal case weakens Wi-Fi a little: don't put the eye too far from your router.
2. What else you need
No tools – just things most homes already have:
- a computer (Windows, Mac or Linux) with Chrome or Edge – Firefox only in a roundabout way, phones and Safari can't install
- a USB-C data cable (some cables only charge)
- 2.4 GHz Wi-Fi with internet (5 GHz networks don't work)
- a phone to set up Wi-Fi
- later, a normal USB power adapter, e.g. a phone charger
3. Assembly
There's nothing to wire: the -B board comes ready-assembled in its metal case, with the USB-C socket reachable from outside.
- Unpack the board, plug in the USB-C data cable, other end into your computer.
- The board starts as soon as it gets power – there's no power button. Whatever it shows now (a maker demo) doesn't matter; it gets replaced in a moment.
Keep the small 12-pin cable and the mini screwdriver from the box – in case you want to move the board into an eye case later.
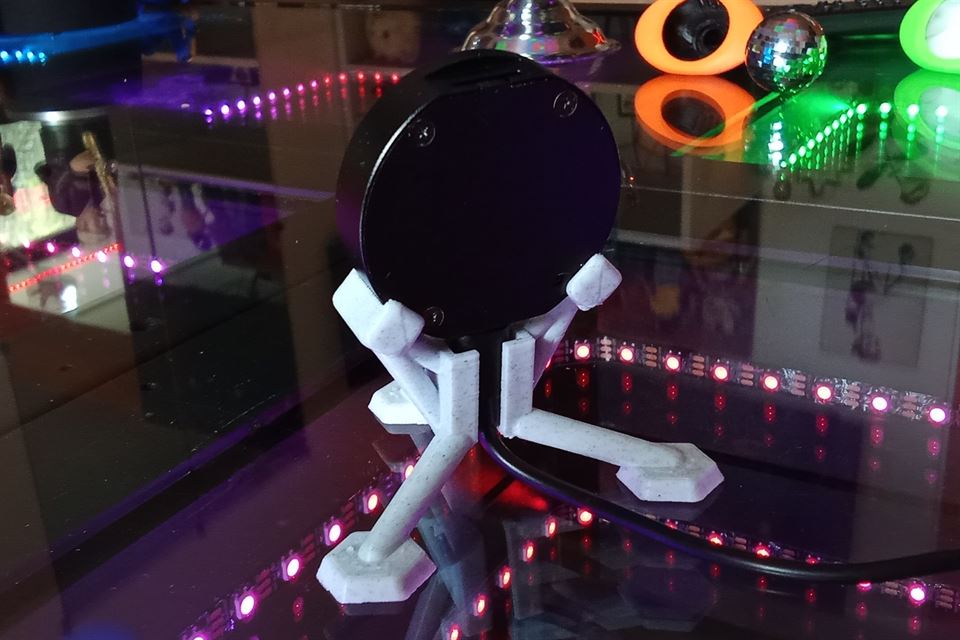
Got a 3D printer? Print the Moonwatcher Lander – a stand made for the eye in its metal case, so it stands even better on your desk: on MakerWorld (with a ready print profile) or as a direct download (3MF). Print in PETG or PLA, no supports needed (if Bambu Studio warns about floating regions, you can ignore it). Feed the USB-C cable up through the stand from below, plug it into the eye and set the eye in. Any USB-C cable with a straight plug will do for this, even a charge-only one – the data cable is only needed once, for installing. Plug body max. 12.5 × 7 mm and about 21 mm long (without the metal part), cable max. 5 mm thick. Angled plugs don't fit.
For tinkerers: a 3D-printable eye-shaped case is on its way – it uses the board without metal case and needs a few simple solder joints.
4. Install and set up
The install page walks you through the rest step by step: put the firmware on the board straight from the browser, then connect the eye to your Wi-Fi with your phone. Takes about 10 minutes.
Open the install pageAfter that, nothing to do: updates arrive over Wi-Fi by themselves.
What the eye shows and how to use it: the manual.
Moonwatcher is free – if it brings you joy, I'd be happy about a small tip.
← Back to the Moonwatcher page · © 2026 Torsten Hillmann
Ideas & design: Torsten Hillmann (@manhill) · Funktronix. Built with Claude, an AI by Anthropic.
Testing & prototype case: Bix